
TL;DR:
Learning how to adjust steering tension on a motorcycle is essential for smoother handling, better balance, and safer rides. This guide explains how to identify steering issues, make proper adjustments, and improve control through counter steering.
- Check for loose or tight steering and inspect the steering stem bearings.
- Use the right tools, including a torque wrench and spanner wrench.
- Loosen the lock nut, adjust the steering stem nut, and fine-tune tension.
- Test your ride and adjust again if needed for smooth, stable steering.
- Consider adding a steering stabilizer motorcycle for extra control.
Readers will discover how proper motorcycle steering adjustment enhances counter steering a motorcycle, improves responsiveness, and prevents front-end wobble.
Motorcycle handling is all about control. Whether you're cornering confidently or cruising straight at high speeds, your motorcycle steering needs to feel stable and responsive. If your handlebars feel loose or too tight, it's probably time to adjust your steering tension.
In this guide, we’ll explain how to adjust steering tension on a motorcycle, what to watch for, and how this ties into motorcycle counter steering and overall performance.
Why Steering Tension Matters
Steering tension refers to how tight or loose your steering stem bearings are. Too much tension can make turning sluggish and fatiguing, while too little can lead to instability—especially at high speeds.
Symptoms of poor steering tension may include:
- Wobbly front end or front wheel shake
- Difficulty turning
- Tight or “sticky” handlebar movement
- Headshake when letting go of the handlebars briefly
This affects not only your ability to corner properly but also how well you can perform counter steering a motorcycle, which is how riders initiate a lean by pushing on the opposite handlebar.
Tools You’ll Need
Before you start, gather the following tools:
- Torque wrench
- Spanner wrench or hook wrench (depending on your steering stem nut)
- Allen keys or socket set
- Screwdrivers (Phillips and flathead)
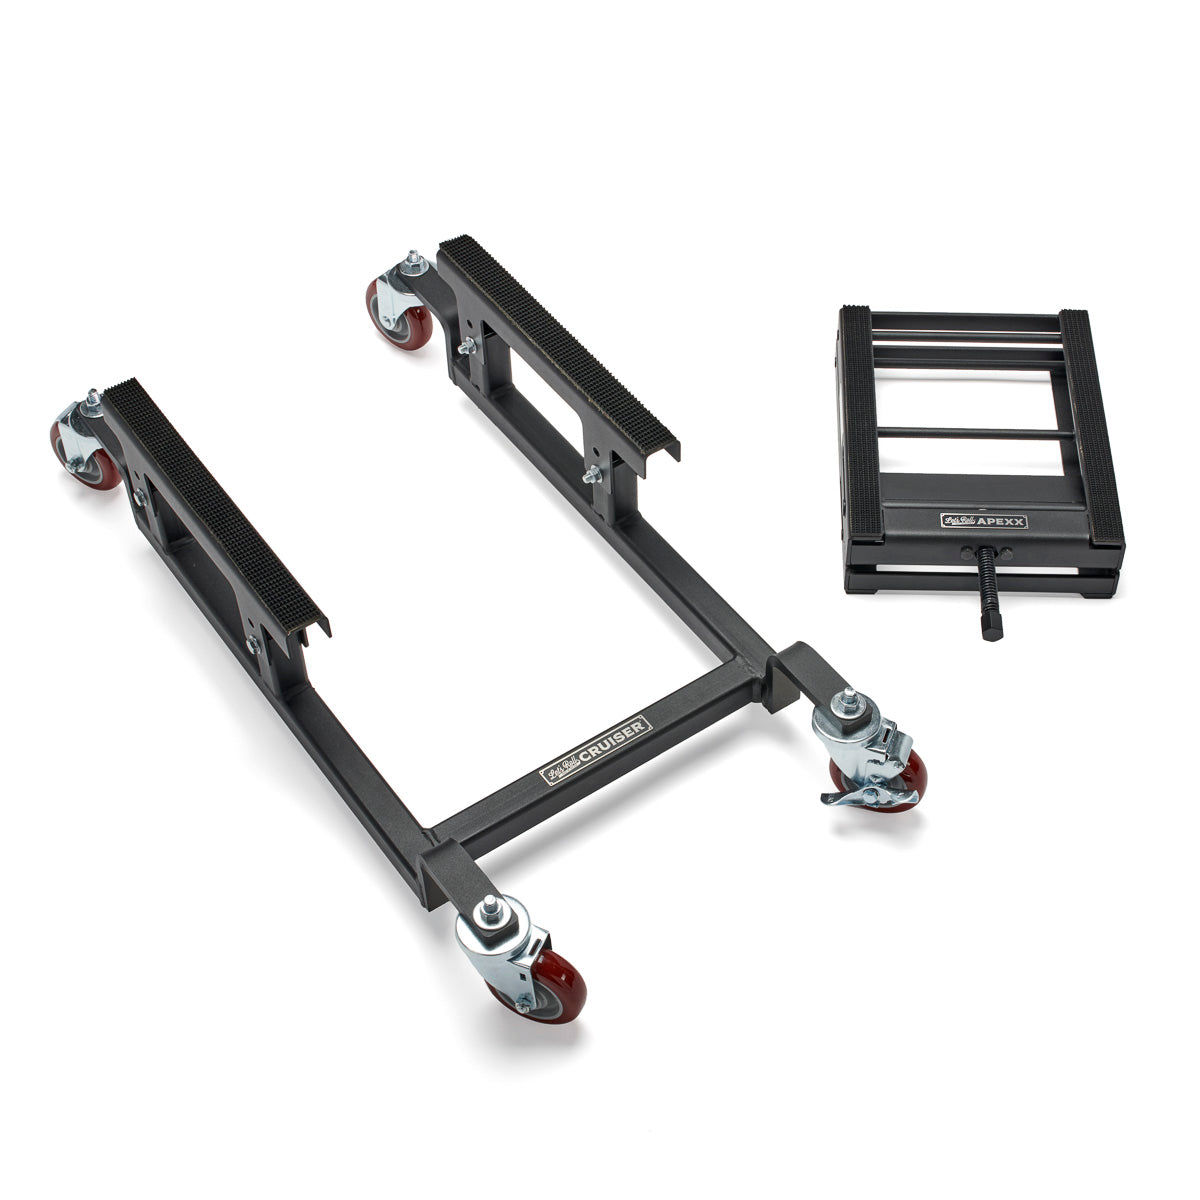
- Motorcycle stand or jack (to lift the front end off the ground)
It’s also helpful to have your owner’s manual nearby for torque specs specific to your bike.

Step-by-Step: How to Adjust Steering Tension on a Motorcycle
Step 1: Secure and Elevate the Front End
Use a front-end stand or a motorcycle jack to lift the motorcycle steering wheel (i.e., front wheel) off the ground. Make sure the bike is stable before starting. This allows you to test and adjust steering without the weight of the front tire affecting your feel.
Step 2: Remove the Necessary Components
You’ll likely need to remove the handlebars, top triple clamp, and sometimes the ignition bracket to access the steering stem nut and adjustment nut. Use caution and mark any wiring or positions for easy reassembly.
Step 3: Check Existing Tension
Before adjusting, gently swing the handlebars left to right. If the movement is not smooth, or if the bars "stick" in place, the tension is likely too high. If they flop side to side too easily or shake when lightly tapped, the tension is too low.
Step 4: Loosen the Locking Nut
Most bikes have a locking nut that keeps the steering stem adjustment nut in place. Use your spanner wrench or appropriate tool to carefully loosen this.
Step 5: Adjust the Steering Stem Nut
This is the critical step. Slowly tighten or loosen the adjustment nut in small increments, checking the movement of the handlebars after each adjustment.
- Too tight: Hard to turn, resistance in the handlebars.
- Too loose: Feels shaky or unstable at speed.
You're looking for smooth, light resistance—not too stiff, not too floppy.
Step 6: Re-Tighten the Lock Nut
Once you find the right tension, tighten the lock nut back down without over-tightening. You don’t want to undo your careful adjustment.
Step 7: Reassemble the Front End
Reattach the top triple clamp, handlebars, and any other components you removed. Use a torque wrench to tighten all bolts to spec.
Step 8: Test Ride and Fine-Tune
Lower the bike and take it for a cautious test ride. Pay attention to how it responds when turning and during motorcycle counter steering.
If the bike still feels twitchy or hard to steer, you may need to go back and fine-tune the adjustment. It’s a balancing act, but worth the effort for better control.
Optional: Consider a Steering Stabilizer
If your bike still feels unstable, or if you ride aggressively or on rough roads, a steering stabilizer motorcycle attachment can add a layer of control.
These devices help absorb front-end wobbles and make your motorcycle steering feel more predictable—especially at high speeds. They’re a great addition to sport bikes and adventure bikes alike.
Steering and Counter Steering: How It All Connects
When your steering tension is set correctly, your bike responds better to inputs. This makes counter steering a motorcycle smoother and more intuitive. Remember, when riding at speeds above 10 mph, pushing the right handlebar turns the bike right, and pushing left turns you left—that’s counter steering.
If your steering is too tight or too loose, this technique becomes harder to execute, making your ride less safe and less fun.
The Bottom Line: Keep Your Steering in Check
Now that you know how to adjust steering tension on a motorcycle, you’ll enjoy better handling, safer cornering, and smoother rides. Proper motorcycle steering isn't just about comfort—it’s key to riding with confidence.
Regular steering checks should be part of your broader motorcycle maintenance routine. If you ride frequently, inspect your steering every few thousand miles or any time you notice unusual front-end behavior.
Want to upgrade your setup?
Explore motorcycle accessories at the Let’s Roll Store—including lifts and maintenance tools to make adjustments like these quicker and easier.
Your bike deserves the best—and so do you.